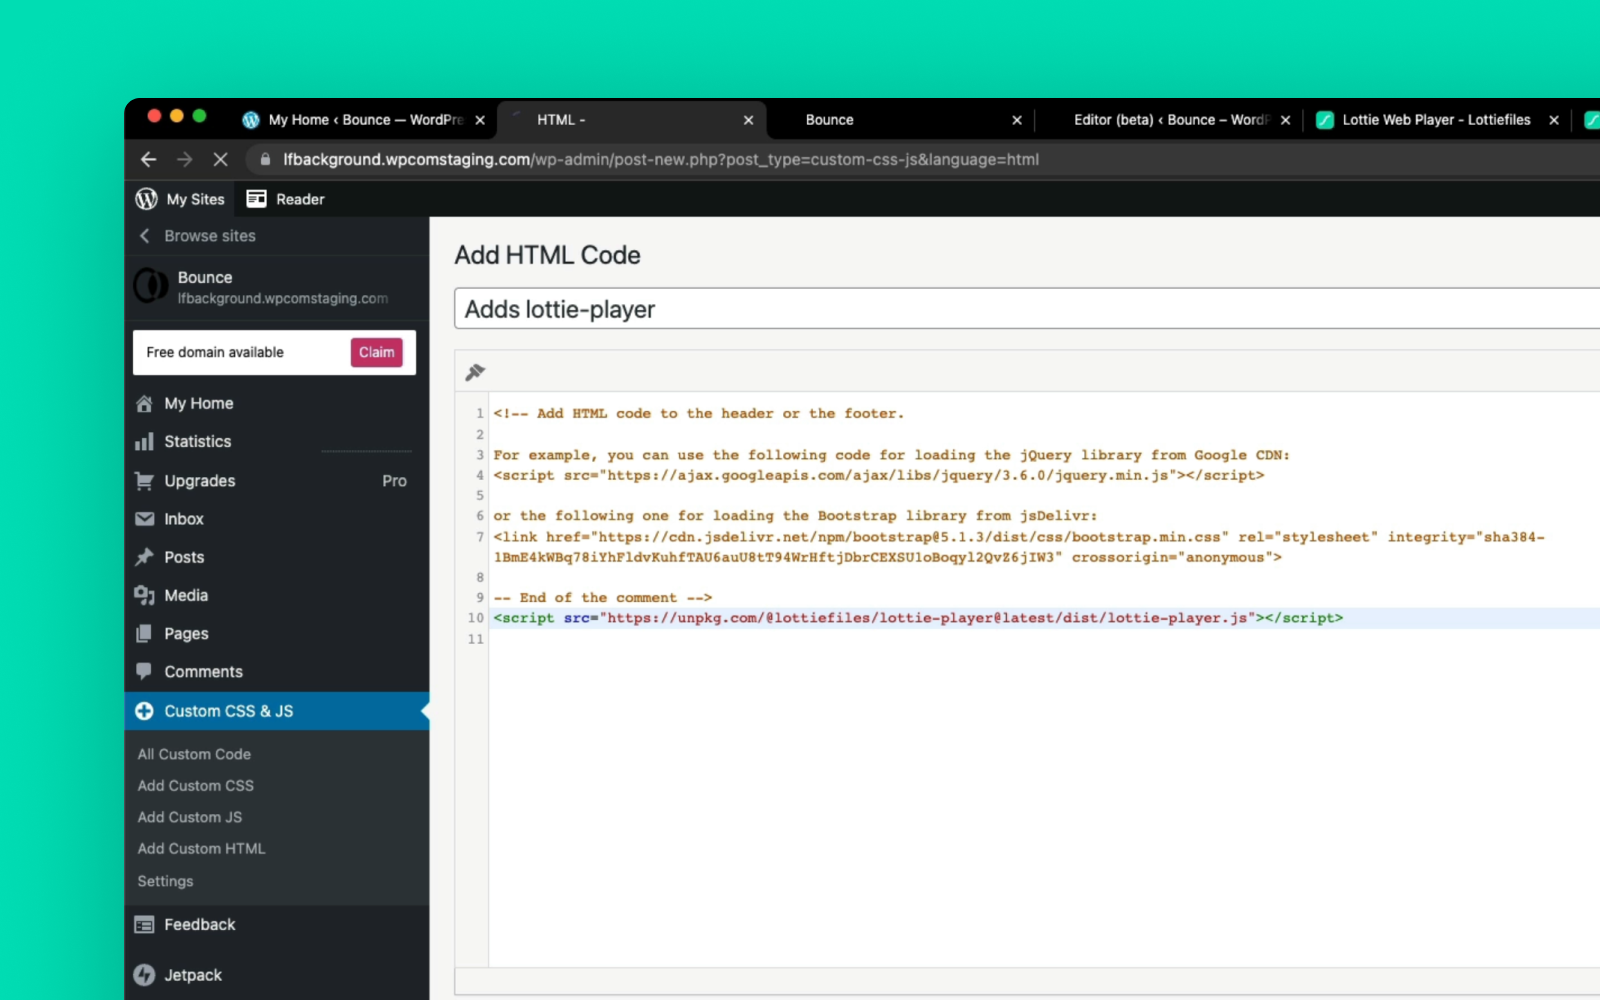
WordPress, while incredibly versatile, sometimes presents challenges for developers using custom elements. One common issue is the automatic stripping out of custom HTML elements during page rendering. This post tackles the problem of preventing WordPress from removing your custom <dotlottie-player> element, providing solutions and best practices to ensure your Lottie animations display correctly.
Preserving Your Custom <dotlottie-player> Element in WordPress
The <dotlottie-player> element, crucial for displaying Lottie animations, is often treated as an unknown tag by WordPress’s default HTML sanitization process. This results in the element being stripped from your content, rendering your animations invisible. This problem commonly arises when using plugins or custom code that adds this element directly to the page. Understanding why this happens and how to address it is crucial for seamless integration of Lottie animations into your WordPress website. Several methods exist to successfully circumvent this issue and ensure proper display. Choosing the right approach will depend on your technical expertise and the specifics of your website setup.
Using a WordPress Plugin to Bypass Sanitization
Several plugins offer enhanced control over WordPress’s HTML sanitization process. These plugins allow you to specify which custom HTML elements should be allowed, preventing WordPress from removing them during page rendering. This is often the easiest and most straightforward method, especially for users who are less comfortable with directly modifying WordPress core files. A well-regarded plugin can significantly simplify the process, allowing you to focus on your animation rather than debugging HTML issues. Remember to always thoroughly research any plugin before installing it to ensure compatibility and security.
Adding the <dotlottie-player> Element via a Shortcode
Creating a shortcode provides a cleaner and more manageable way to insert your Lottie animation. Instead of directly adding the <dotlottie-player> element into your content, you create a shortcode (e.g., [lottie_animation id="your-animation-id"]). Then, you write a function that handles this shortcode, correctly rendering the <dotlottie-player> element. This method keeps your content clean and organized while ensuring the animation is displayed. It offers better maintainability and prevents accidental removal of the element during theme or plugin updates.
Manually Adjusting WordPress’s Sanitization Filters
For advanced users comfortable with WordPress’s filter system, directly modifying the sanitization filters offers granular control. This method requires adding code to your theme’s functions.php file or a custom plugin. This involves creating a function that adds the <dotlottie-player> element to the allowed HTML tags. While offering complete customization, this approach requires a deeper understanding of WordPress’s codebase and carries a higher risk of introducing errors if not implemented correctly. Always back up your files before making any direct code changes.
Comparing Methods for Handling <dotlottie-player>
| Method | Ease of Implementation | Risk | Maintainability |
|---|---|---|---|
| WordPress Plugin | Easy | Low | Moderate |
| Shortcode | Medium | Low | High |
| Direct Filter Modification | Difficult | High | Low |
Choosing the right method depends on your technical skills and comfort level. Using a plugin is generally recommended for beginners, while shortcodes offer a good balance between ease of use and maintainability. Direct filter modification should only be considered by experienced developers.
Troubleshooting Tips: Why Your Lottie Animation Still Isn’t Showing
Even after implementing these methods, your Lottie animation might still not show up. Ensure you’ve correctly linked your Lottie JSON file. Double-check for typos in your code and verify that the <dotlottie-player> element’s attributes are accurately set. If you’re still having trouble, consult the LottieFiles documentation for detailed troubleshooting instructions. Remember to always check your browser’s developer console for error messages, which can provide valuable insights into the problem.
Conclusion: Ensuring Seamless Lottie Animation Integration
Successfully integrating Lottie animations into your WordPress website requires addressing the potential issue of custom element stripping. By employing the methods outlined above – using a plugin, creating a shortcode, or directly modifying sanitization filters – you can ensure your <dotlottie-player> elements are preserved and your animations are displayed correctly. Remember to choose the approach that best suits your technical skills and the overall complexity of your website. If you encounter any issues, don’t hesitate to explore additional resources and community support for further assistance. WordPress support forums can be invaluable. For more advanced techniques, you might find valuable information in the WordPress Developer Resources.
#1 La gua completa para aadir y editar animaciones Lottie en WordPress

#2 Wordpress: stripping default wordpress code out of a page - YouTube

#3 DotLottie React Usage Guide | LottieFiles Developer Portal

#4 [react-native] dotlottie - Codesandbox
![Keep Your Lottie Animations Preventing WordPress from Removing Custom dotlottie-player Elements - [react-native] dotlottie - Codesandbox](https://codesandbox.io/api/v1/sandboxes/5y9qqz/screenshot.png)
#5 nuxt.js - Add dotlottie packge to Nuxt3 - Stack Overflow

#6 GitHub - aarsteinmedia/dotlottie-player: Web Component for playing
#7 DotLottie in Elementor - Lottie in Web - Let’s talk Lottie

#8 How to add dotLottie animation files to your Framer projects - YouTube
